
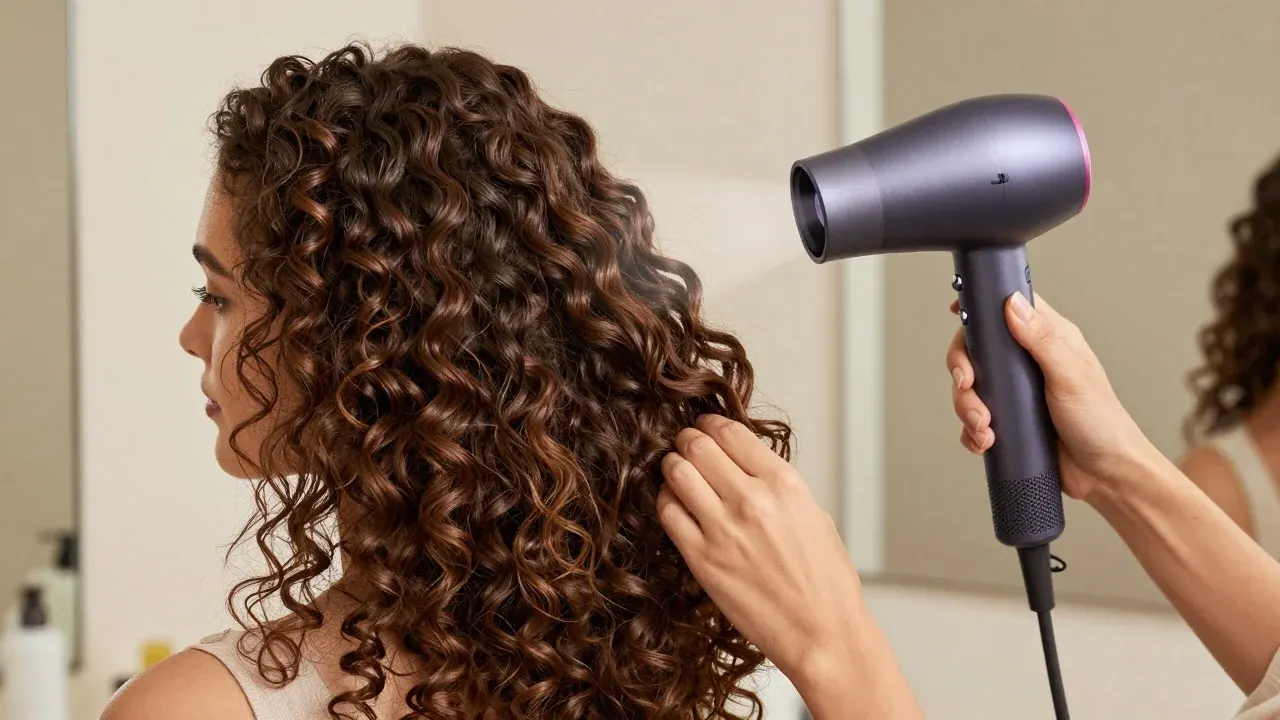
A hair diffuser spreads a hair dryer’s airflow across a wider area, so curls and waves dry with less direct force. That can help preserve curl clumps, reduce frizz, and add root lift. For most people, the right choice depends on dryer compatibility, bowl depth, prong length, hair density, and preferred styling method.
This guide compares the main designs, explains what to look for, and shows you how to dry textured hair with more control.
| Quick question | What to know |
| Who benefits most? | People with wavy, curly, coily, or frizz-prone hair |
| Main benefit | Softer, wider airflow that disturbs natural texture less |
| Good starting settings | Low to medium heat with low airflow |
| Most important buying check | Confirm that the attachment fits your dryer |
| For long or dense hair | Look for a deeper bowl and longer prongs |
| For fine waves | A lighter, shallower design can help avoid flattening |
| For travel | Collapsible or sock-style attachments take less space |
What This Attachment Does for Curls and Waves
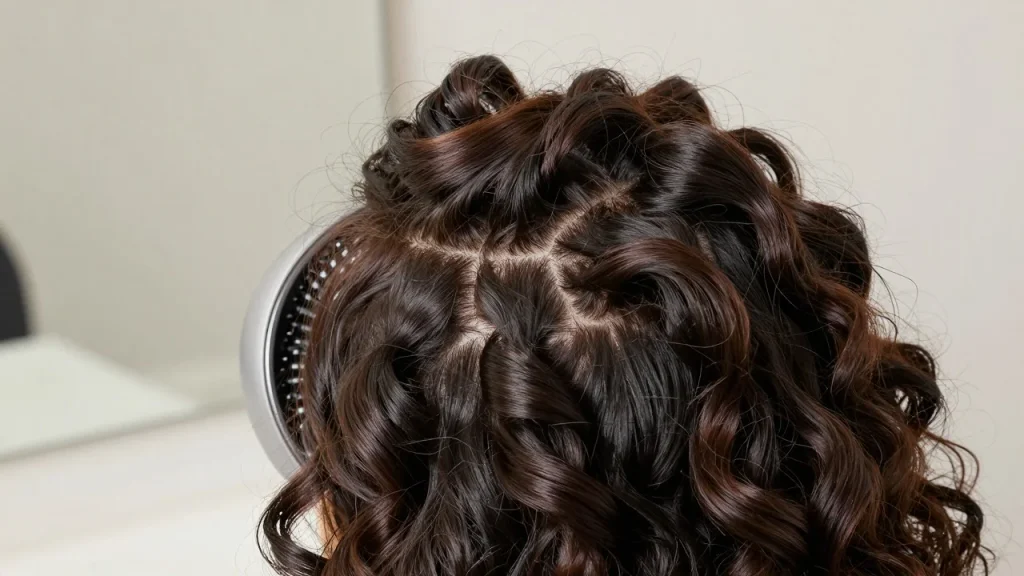
A diffuser changes the concentrated stream from a standard dryer into softer airflow spread across a larger surface. The goal is to dry your hair without blowing curl clumps apart. Current beauty guides consistently focus on three results: curl definition, lower frizz, and root volume. Large bowls can hold more hair, while prongs help direct air closer to the roots.
It can be useful for waves as well as tight curls. Fine, loose waves often need less heat and less handling because too much force can stretch their shape.
Your haircut also affects the final result. Layers, density, and the way your hair sits around the forehead can change where you want volume. A widow’s peak styling guide can help when your styling concerns include the front hairline.
4 Diffuser Types Compared: Which One Should You Buy?
You do not need the most expensive design. You need one that stays attached, moves air evenly, and suits the amount of hair you need to dry.
| Type | Works well for | Advantages | Limits |
| Universal bowl | Most first-time buyers | Works with several dryers; easy to replace | Fit can vary between dryer nozzles |
| Brand-specific attachment | People keeping the same dryer | Secure fit; designed around that dryer’s airflow | Usually works with one product family |
| Integrated curl dryer | Frequent curl styling | Dryer and bowl are designed as one unit | Costs more and replaces your current dryer |
| Collapsible or sock style | Travel and storage | Compact and lightweight | Less support for heavy or long curls |
Universal models offer flexibility, but “universal” does not mean every attachment fits every dryer. Some dryers use proprietary connection systems. Measure the nozzle or check the manufacturer’s compatibility information before buying.
Our recommendation: start with a well-fitting bowl attachment if you already own a dryer with useful heat and speed controls. Choose an integrated model when curl drying is a major part of your routine, and you want one purpose-built tool.
A collapsible design makes more sense for occasional use or travel.
How to Choose a Hair Diffuser for Your Hair Type and Dryer
Start with fit. An attachment that slips, rotates, or falls off makes careful drying difficult. Next, match the shape to your hair.
Fine or wavy hair
Fine waves can lose volume when too much wet hair sits in a heavy bowl. A lightweight design with moderate prongs is often easier to control. Use low airflow first. You can raise the temperature slightly if drying feels too slow, but avoid turning both heat and speed to maximum.
Medium to thick curls
A deeper bowl gives longer curls somewhere to sit without folding them into a small space. Longer prongs can also help direct air toward the roots. If volume is your priority, look for prongs that are long enough to reach the root area without pressing hard against the scalp.
Dense coils or long textured hair
Large bowls can handle more hair per section. Air still needs room to move, so avoid packing the bowl until the curls are compressed. Current editor-tested buying guides also emphasize bowl size, airflow distribution, and prong design when matching tools to different lengths and curl patterns.
Stylevanta covers hair care, styling techniques, and beauty alongside its broader fashion coverage. You can read more about Stylevanta’s hair and beauty coverage.
7 Tips for Defined Curls With Less Frizz
1. Remove excess water gently
Start with wet or damp hair, but avoid rough towel rubbing. A soft T-shirt or absorbent hair towel can remove dripping water with less friction. The American Academy of Dermatology advises gentle drying because rough handling can contribute to damage.
2. Apply styling products before drying
Add your leave-in product, curl cream, mousse, or gel before you begin. Distribute your chosen product while the hair is still wet enough for curls to form natural groups.
A heat-protectant product is also sensible when using heated styling tools.
3. Begin with lower airflow
Fast air can separate curl clumps before they set. Begin on a low speed and increase it only if your texture stays controlled. Heat and airflow are separate variables. You may find that moderate warmth with gentle airflow dries faster without creating the movement caused by a high fan setting.
4. Hover before you cup
For frizz-prone hair, try drying the outer surface and roots briefly without repeatedly scooping the curls. Once the style begins to set, cup sections into the bowl and lift them toward the scalp. This reduces unnecessary movement during the wettest stage.
5. Hold each section still
Constantly bouncing the dryer around can disturb the shape you created with your styling products. Hold one section for a short period, lower it gently, then move to another area. Current professional styling guides also recommend minimizing handling as curls dry.
6. Change your head position for root volume
Drying every section while standing upright can leave the crown flatter. Tilt your head from side to side or briefly turn it upside down. This changes the direction in which the roots dry and can create more lift.
7. Leave the curls alone until dry
Once your hair has formed a cast or defined clumps, repeated touching can bring back frizz. Wait until the hair is dry before separating curls or gently scrunching out a firm gel cast.
Heat and Hair Health: Use the Tool Conservatively
A diffuser softens airflow, but it does not remove the risks linked with excessive heat.
Dermatologists recommend limiting heat exposure and using low or medium settings where possible.
A laboratory study published in Annals of Dermatology also found that hair surface damage increased as drying temperature rose. In that study, keeping a dryer about 15 cm away while moving it continuously produced less damage than the hotter, closer test conditions. The research tested hair tresses rather than a specific curl attachment, so it should not be treated as a diffuser trial. (Source: Annals of Dermatology (Lee et al., 2011).)
The practical lesson is simple: avoid unnecessary heat, especially when a lower setting still dries your hair effectively.
Common Mistakes That Can Ruin Curl Definition
Several problems often blamed on the tool are actually caused by technique.
- Starting on maximum airflow: strong air can separate wet curl clumps.
- Buying without checking compatibility: an unstable attachment is harder to use safely.
- Overloading the bowl: packed hair may dry unevenly.
- Touching curls constantly: frequent handling can create frizz before the style sets.
- Holding high heat in one place: concentrated heat increases exposure in that section.
- Stopping with wet roots: the ends may look dry while the crown remains damp.
Change one variable at a time. If the finished style is frizzy, reduce movement or airflow first. If the roots are flat, change your head position before adding more heat.
Choose for Your Hair, Then Adjust Your Technique
The right attachment should fit your dryer securely and give your curls enough space to dry without being crushed. Fine waves may favour a lighter bowl, while long or dense curls can benefit from greater depth and longer prongs.
Once you have the right shape, focus on lower airflow, controlled heat, minimal touching, and patient sectioning. Those changes often matter more than buying another styling tool.For more hair, beauty, and personal-style ideas, browse the latest Stylevanta guides.
Frequently Asked Questions
Is a hair diffuser good for curly hair?
It can be useful because the attachment spreads airflow instead of directing one concentrated stream at the curls. That helps reduce movement while hair dries. Your results still depend on heat, airflow, styling products, hair density, and how much you handle the curls.
Should hair be soaking wet or damp before diffusing?
Both methods can work. Removing dripping water first usually shortens drying time. Keep enough moisture in your hair so your styling products remain evenly distributed and your curl clumps stay intact.
Can you use one on straight hair?
Yes, although the result is different. Straight hair will not become naturally curly because of the attachment alone. It can add root lift, soften the drying process, or help preserve waves created through styling.
Do universal attachments fit every dryer?
No. Check the nozzle diameter and attachment system before you buy. Some hair dryers use proprietary connectors, so a generic model may not lock into place securely.
What heat setting should you use?
Low or medium heat is a sensible starting point. Use the lowest setting that dries your hair within a reasonable amount of time. If you increase the heat, keep the tool moving and avoid prolonged exposure to one area.