
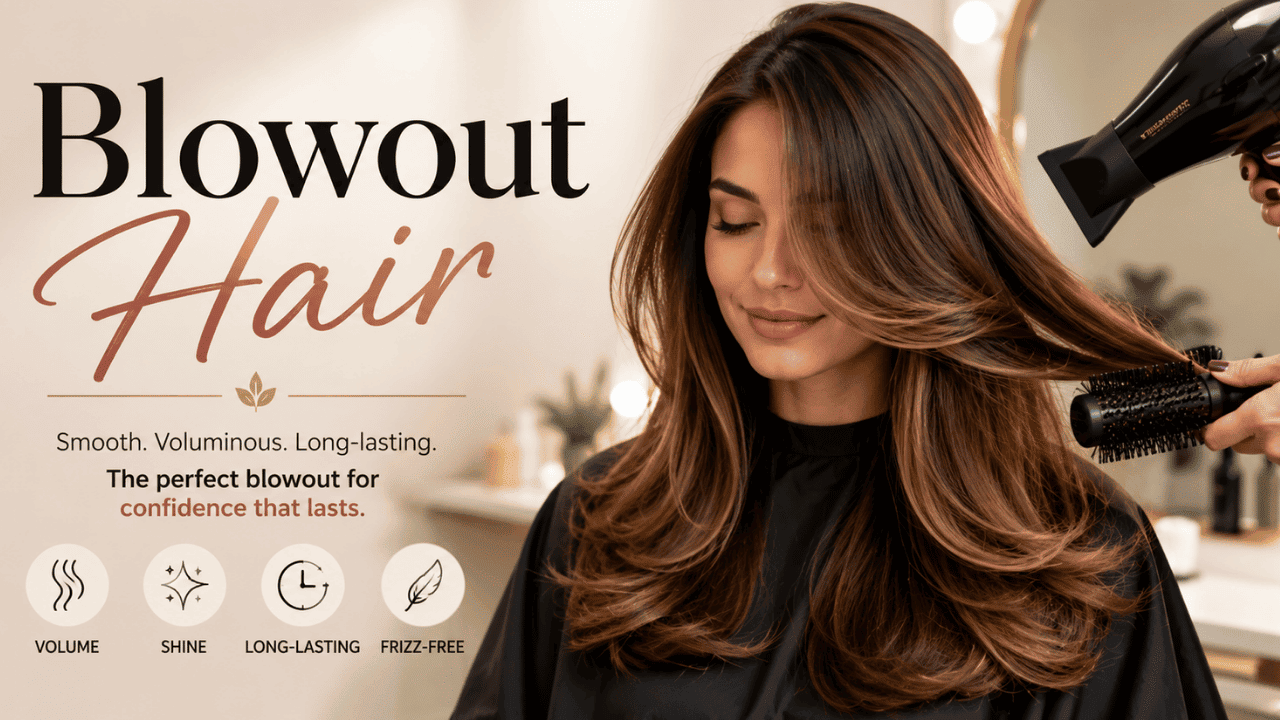
Blowout hair is a temporary styling method that shapes damp hair with a dryer, directed airflow, and a brush. The goal is smoothness, controlled volume, movement, and a polished finish without permanently changing the hair. Good results depend on sectioning, moderate heat, brush tension, and letting each section cool.
You can create a look at home with basic tools and a little practice. The right technique matters more than piling on styling products.
| Blowout Hair | What to know |
| What creates the style? | Directed dryer airflow, brush tension, sectioning, and controlled heat |
| Main tools | Blow dryer, concentrator nozzle, round brush, clips, and heat protectant |
| Typical longevity | Often a few days, depending on texture, weather, scalp oil, and upkeep |
| Best heat approach | Start with low or medium heat and increase only when needed. |
| Good for | Straight, wavy, curly, and coily textures when technique is adjusted |
| Main goal | Smoothness, shape, movement, root lift, or a combination of these |
What Makes a Blowout Different From Simply Drying Your Hair?
A blowout is more intentional than pointing a dryer at wet strands until they feel dry. You work in sections while using a brush to control direction, tension, root lift, and the shape of the ends. A concentrator nozzle also helps direct the airflow where you want it. This gives you more control over the finish and can reduce the need for another hot tool afterward.
The finished look can vary. You might prefer high root volume, softly curved ends, a sleek finish, or large bouncy bends. If your natural texture is straight, StyleVanta’s straight-hair guide can help you choose lighter products that won’t flatten the roots.
How to Do Blowout Hair at Home in 7 Steps

What you’ll need
Gather your tools before you start:
- Blow dryer with heat and speed controls
- Concentrator nozzle
- Round brush
- Sectioning clips
- Heat-protecting product
- Lightweight mousse, smoothing cream, or styling spray if needed
- Flexible-hold finishing spray
- Large rollers if you want extra lift while the hair cools
1. Remove excess water gently.
Start with clean, damp hair rather than dripping-wet strands. Press out water with a soft towel or T-shirt instead of rubbing aggressively.
The American Academy of Dermatology recommends gentle drying because rough handling can contribute to breakage.
2. Apply heat protection and light styling product.
Distribute a heat-protecting product through the lengths before using heated tools. Choose any extra styling product according to your hair.
Fine strands usually need less product. Thick or frizz-prone lengths may benefit from a small amount of smoothing cream.
3. Pre-dry until the hair is mostly dry
Use your dryer to remove much of the moisture before reaching for the round brush. Current Canadian styling guides from Sephora and Kérastase both recommend pre-drying before detailed round-brush work.
This step reduces the time each section spends under focused heat.
4. Divide the hair into manageable sections.
Clip the hair into several sections based on its length and density. Smaller sections give the brush better control.
Keep each section narrower than the brush when possible. Trying to wrap too much hair at once can make drying uneven.
5. Lift the roots and guide the brush through the lengths.
Place the brush underneath a section near the roots. Lift it away from the scalp while directing airflow toward the section.
Move the dryer and brush together toward the ends. Keep the nozzle aimed along the direction of the hair instead of blasting from every angle.
6. Shape the ends and cool each section.
Turn the brush inward, outward, or straight through the ends depending on the finish you want.
Use the cool-shot setting after a section is dry. Letting the hair cool in its finished shape can help it hold that direction. For extra volume, wrap dry sections around large rollers while they cool.
7. Finish without weighing the hair down.
Release the sections and use your fingers or a wide brush to blend them.
Add a small amount of flexible-hold spray if needed. Avoid coating the roots with heavy oils when volume is the goal.
Adjust the Technique to Your Hair Type
The same blowout won’t behave identically on every texture. Strand thickness, density, natural pattern, damage, and product weight all affect the result. If you want to preserve rather than stretch natural curls, StyleVanta’s hair-diffuser guide explains a lower-airflow drying approach.
Face-framing pieces also change the final look. Anyone with a fringe can use StyleVanta’s curtain-bangs styling guide for tips on creating a softer front section.
| Hair type or concern | Styling focus | Useful adjustment |
| Fine or flat | Root lift | Use lighter products and avoid heavy oils near the scalp. |
| Thick or dense | Control and complete drying | Work in smaller sections. |
| Wavy | Smoothness with movement | Keep some natural bend rather than pulling every section straight. |
| Curly or coily | Controlled stretching or shaping | Detangle gently and adjust brush tension to your texture. |
| Frizz-prone | Smoother surface | Use controlled airflow and avoid repeatedly disturbing dry sections. |
How to Make Blowout Hair Last Longer
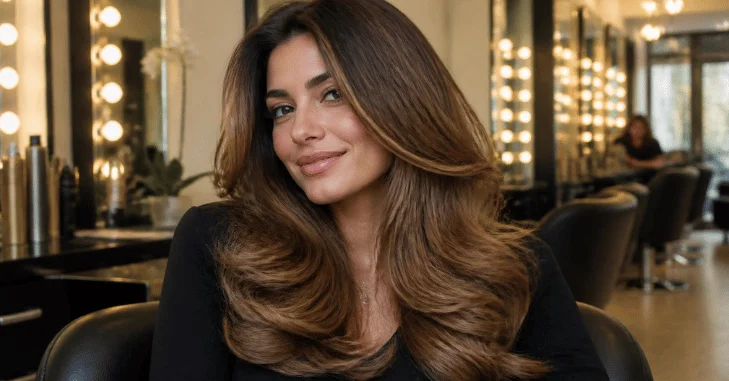
A well-done blowout often stays presentable for several days, but there is no fixed lifespan. Texture, oil production, humidity, workouts, sleep habits, and product buildup can all shorten it.
You can help preserve the finish by:
- Keeping hair dry in the shower with a shower cap
- Avoiding unnecessary touching throughout the day
- Using dry shampoo at the roots when oil appears
- Sleeping with the hair loosely secured instead of tightly tied
- Refreshing only the sections that have lost shape
- Protecting the style from excess humidity when possible
You don’t need to reapply high heat to the whole head each morning. Refresh the roots or front pieces only when they need attention.
For days when you want waves without more hot-tool styling, see StyleVanta’s heatless-curls method.
Use Heat With Care
Heat can make hair easier to shape, but more heat does not automatically create a better result. The American Academy of Dermatology advises limiting excessive heat and using low or medium settings when possible. It also recommends letting hair partially dry before styling and using products labelled for heat protection.
If your hair starts feeling brittle, rough, or unusually dry, reduce the temperature and frequency of heated styling. Colored, chemically treated, fragile, or damaged strands may need extra care.
Blowout vs. Basic Blow-Drying and Chemical Smoothing
These services can sound similar, but they do different things.
| Method | Main purpose | How long it lasts | Chemical change? |
| Basic blow-dry | Remove water. | Until hair gets wet again | No |
| Blowout | Dry and shape for volume, smoothness, or movement | Usually several days | No |
| Chemical smoothing service | Reduce curl or frizz for a longer period. | Much longer than temporary styling | Often yes. |
A blowout styles the hair temporarily. Washing or exposing it to enough moisture allows the natural pattern to return.
That makes it different from chemical smoothing treatments, which use formulas designed to create longer-lasting changes.
Build the Style Around the Finish You Want
Start with moderate heat, manageable sections, and a styling product that suits your texture. Then change one variable at a time.
Use more root lift when volume is the priority. Use gentler tension when you want to preserve movement. Keep finishing products light when your roots flatten easily.
For more ideas on cuts and finishes that work with different lengths and routines, browse StyleVanta’s hair-style ideas for 2026 before planning your next look.
Conclusion
Blowout hair gives you smoothness, volume, and movement without permanently changing your natural hair texture. The best results come from a controlled technique: start with partially dried hair, use heat protection, work in manageable sections, and keep the dryer moving with the airflow directed along the hair.
Adjust brush tension, product weight, and heat according to your hair type, especially if your strands are fine, colored, chemically treated, or fragile. With the right routine, you can create a polished blowout at home while reducing unnecessary heat exposure and helping the style last for several days.
Frequently Asked Questions
How long does blowout hair last?
Many people get a few days from the style. Your natural texture, scalp oil, humidity, sleeping habits, and exercise routine can shorten or extend that time.
Are blowouts bad for your hair?
Heat can damage hair when it is excessive or used too often. Lower or medium temperatures, heat protection, partial air-drying, and less frequent hot-tool use can reduce unnecessary exposure.
Can I do a blowout at home?
Yes. A dryer, brush, clips, heat protection, and controlled sectioning are enough to start. Technique improves with practice, so focus on smaller sections before trying to work faster.
What brush works well for a blowout?
Round brushes are common because they can create tension, root lift, and curved ends. The ideal diameter depends on your hair length and how much bend you want.
Do I need rollers?
No. Rollers are optional. Large rollers can support volume while freshly dried sections cool, but you can still create a polished finish with a dryer and brush alone.